


As stated in the introduction, this is a general guide for most forms of insulation. Any specific steps for certain materials will be made clear. This will apply mostly to the polystyrene foam boards, spray foam, and Thinsulate materials. With all that said, let’s begin…
- The first thing you’re going to want to do is to measure the areas of all the parts of the van that you’re going to insulate. This could be doors, walls, floors, windows, etc.
- With that information, you’re then going to buy the appropriate amount of each insulative material.
Remember to keep in mind that for some of the materials you’re going to need more than one layer. This applies to the Sheep’s wool, Thinsulate, spray foam, and fiberglass.
For the spray foam, you need to check the area that each individual can covers, so you know how many cans to buy.
- Cover up or tape over the areas of your van that you don’t want to be insulated. This is mainly for people using spray foam so that you know exactly where to start and stop spraying, but this is also a way to help you create a picture of where your insulation will be.
For people using Thinsulate or polystyrene foam boards and Thinsulate, this is also the perfect time to mark out some cardboard templates. Using these templates, cut out the exact shapes you need for your van, this time with the actual insulative materials.

A similar process should be done for those working with fiberglass. But before doing so, make sure you are wearing the appropriate safety equipment (e.g. mask, gloves, goggles).
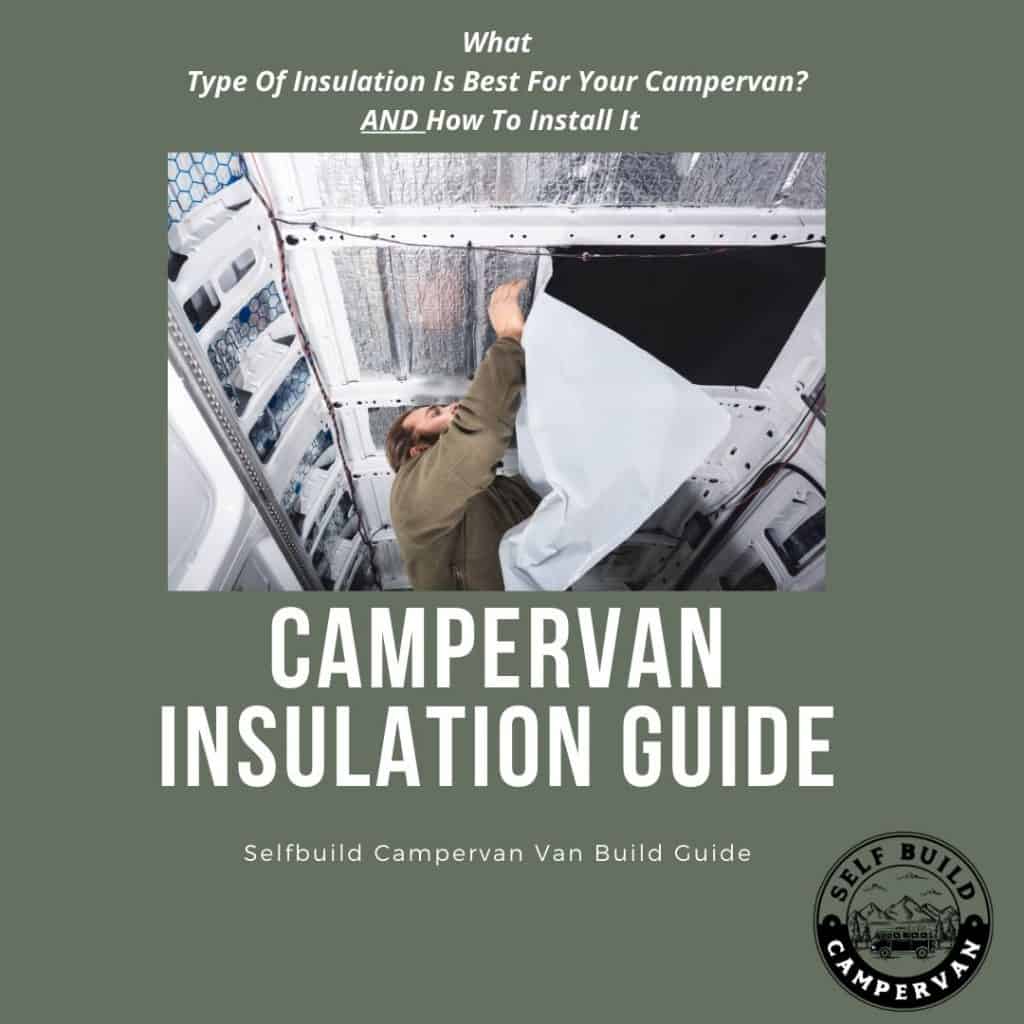
- For those using both the Thinsulate and foam boards, simply apply adhesive and stick the pieces to their corresponding places in the van.
For those using spray foam, now is the time to begin your first layer. Make sure you are wearing a mask, gloves, and goggles too.
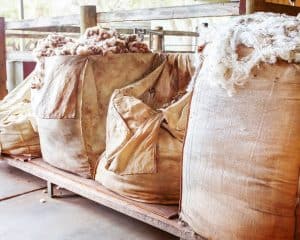
For those using fiberglass and both the Sheep’s wool and Rock wool, fix the cut-out fiberglass butts into place, stapling them once in a firm position. Again, making sure you’re wearing the correct safety gear.
- For the materials that need more than one layer, wait a few hours before applying the next layer. Repeat the same process as you did before. Do this however many times you need until you have built up a solid amount of insulation; in most cases, you’ll know hen you’ve added enough layers when the sound dampening properties become more pronounced.
It’s important not to add too many layers of insulation, as the material won’t be able to breathe; this leads to a build-up of moisture, and eventually, mould will begin to grow within the walls/floor/roof of your campervan.
- If you have some gaps left in between your insulative material and the rest of the van, you can now fill those in with either smaller bits of that same material, or use spray foam insulation, as it is perfect for filling smaller gaps in your van.
- That’s it! Now all you have to do is fit whatever surface you choose over the top of the insulation.

We hope that you found that how-to guide both easy to follow and informative. When it’s laid out clearly, the process doesn’t seem as difficult as many people assume it to be; and that’s true! As long as you are well equipped and logical with how you approach insulating your van, it can be pretty simple.